
So I set off this morning in search of some electronic components and timber, I eventually found a fantastic hardwood specialist in Old Trafford where I pick up a load of American Poplar. Next stop Maplins electronics...


Here is a list of parts used:
- 2" screws
- American Poplar 1"x5" (plank)
- An old mint tin
- Piezo transducer
- 1/4" Mono Jack input
- Wire (3 amp)
- Insulation tape
- Guitar string
- Solder (lead free)
- Old ukulele bridge and saddle
- Power drill
- Needle files
- Soldering iron
- Pliers

There you have it an acoustic Diddley Bow! Very simple and easy to make, made just like they did back in the old days.
Electric Diddley Bow
 I then removed the mint tin and bridge, drilled a hole in the side for the jack input.
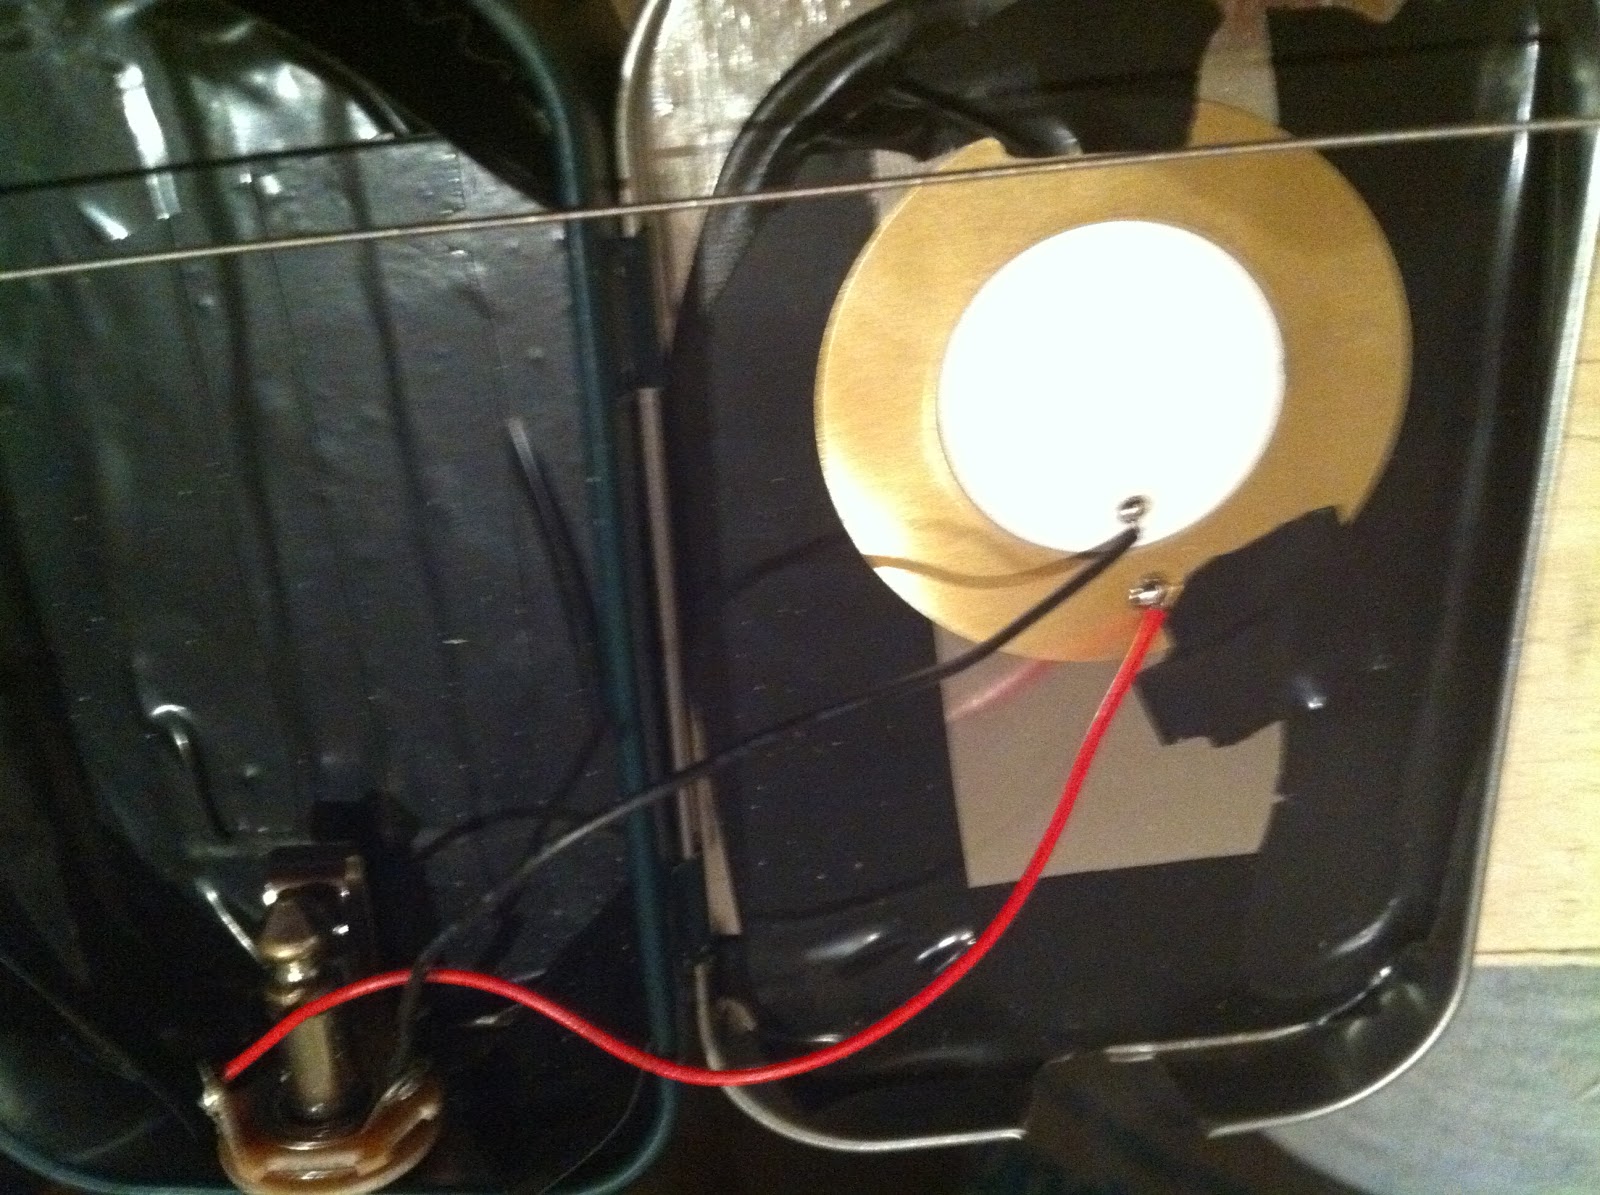
 I got everything ready for soldering. The piezo transducer was then soldered to the jack input using 3 amp wire.
Black insulation tape was used inside the mint tin to avoid the circuit shorting out.

I attached the piezo transducer to the lid using some more insulation tape. The jack input was fastend to the side where the hole was made earlier.

And there you have it one electric Diddley Bow!

Right, its time to plug it in and have some fun...
Look out for my next post where I shall be making a 3 string fretless cigar box guitar.
No comments:
Post a Comment